
How can I use ChatGPT to generate article content with a single click?
This tutorial is written specifically for promoters who will be editing/publishing articles on the PornAI Navigation website in the future. This article will teach you step by step how to generate an SEO-friendly article suitable for ranking using ChatGPT, and publish the article on the website to gain traffic, earn PornAI coins, promote other products, and more.
If you do not have login privileges, please contact the site administrator or the AI Fengyue team. If you have successfully logged in, please continue reading:
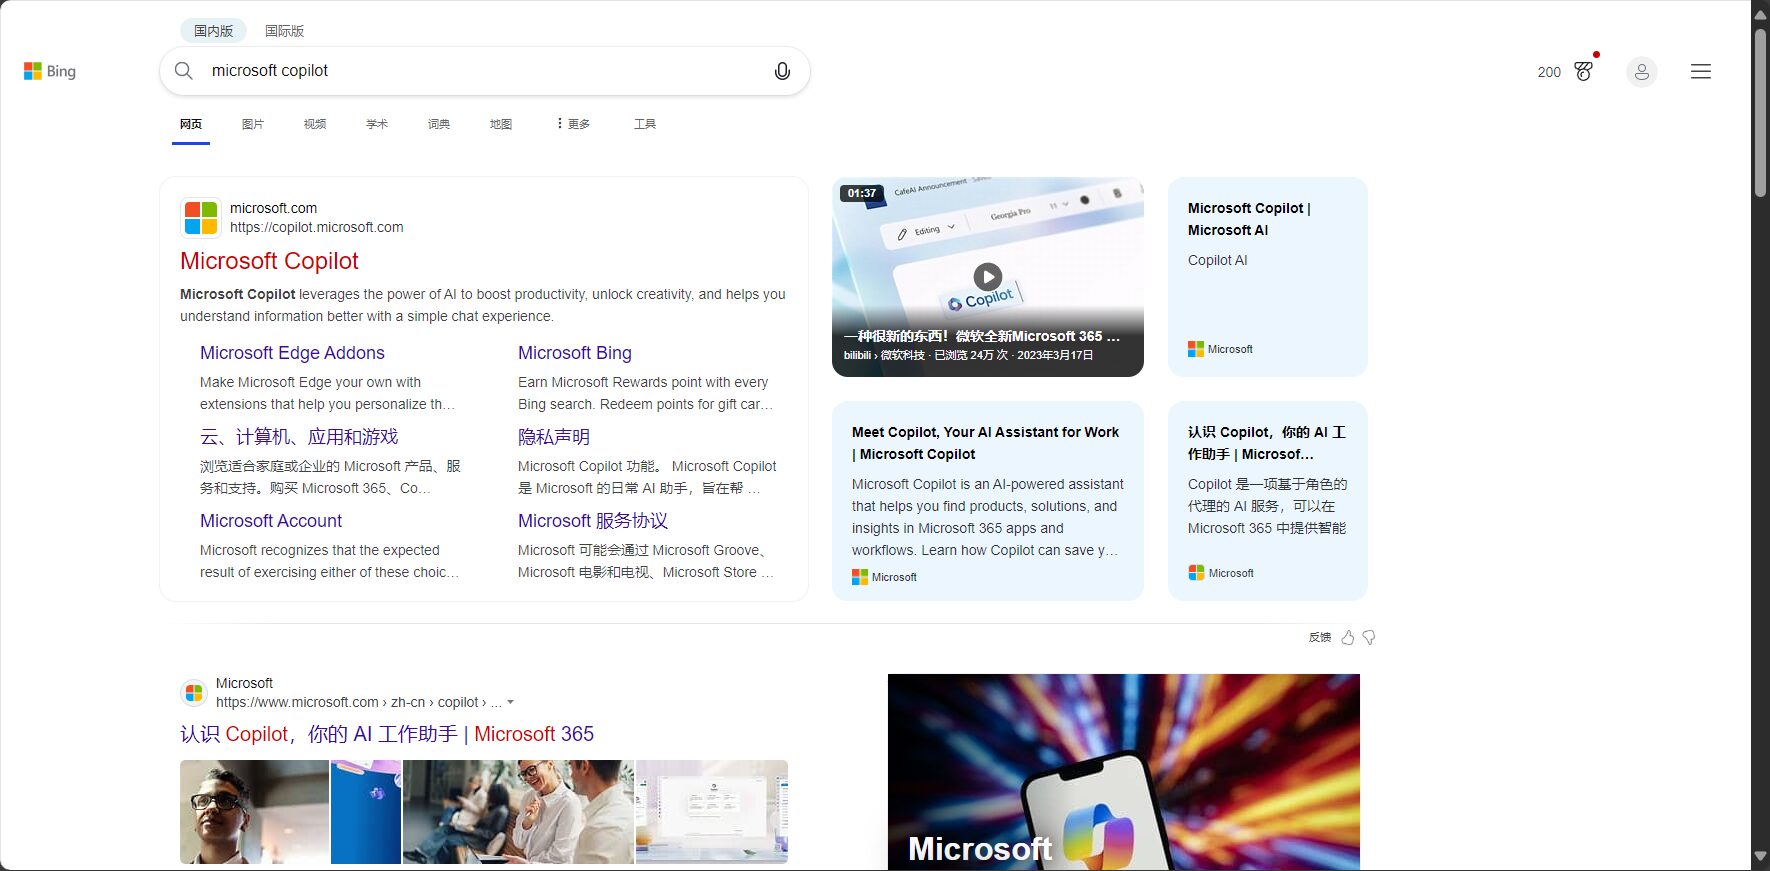
Step 1: Go to ChatGPT
Please click the following link to go to ChatGPT:
Website: ChatGPT
link:https://chatgpt.com/
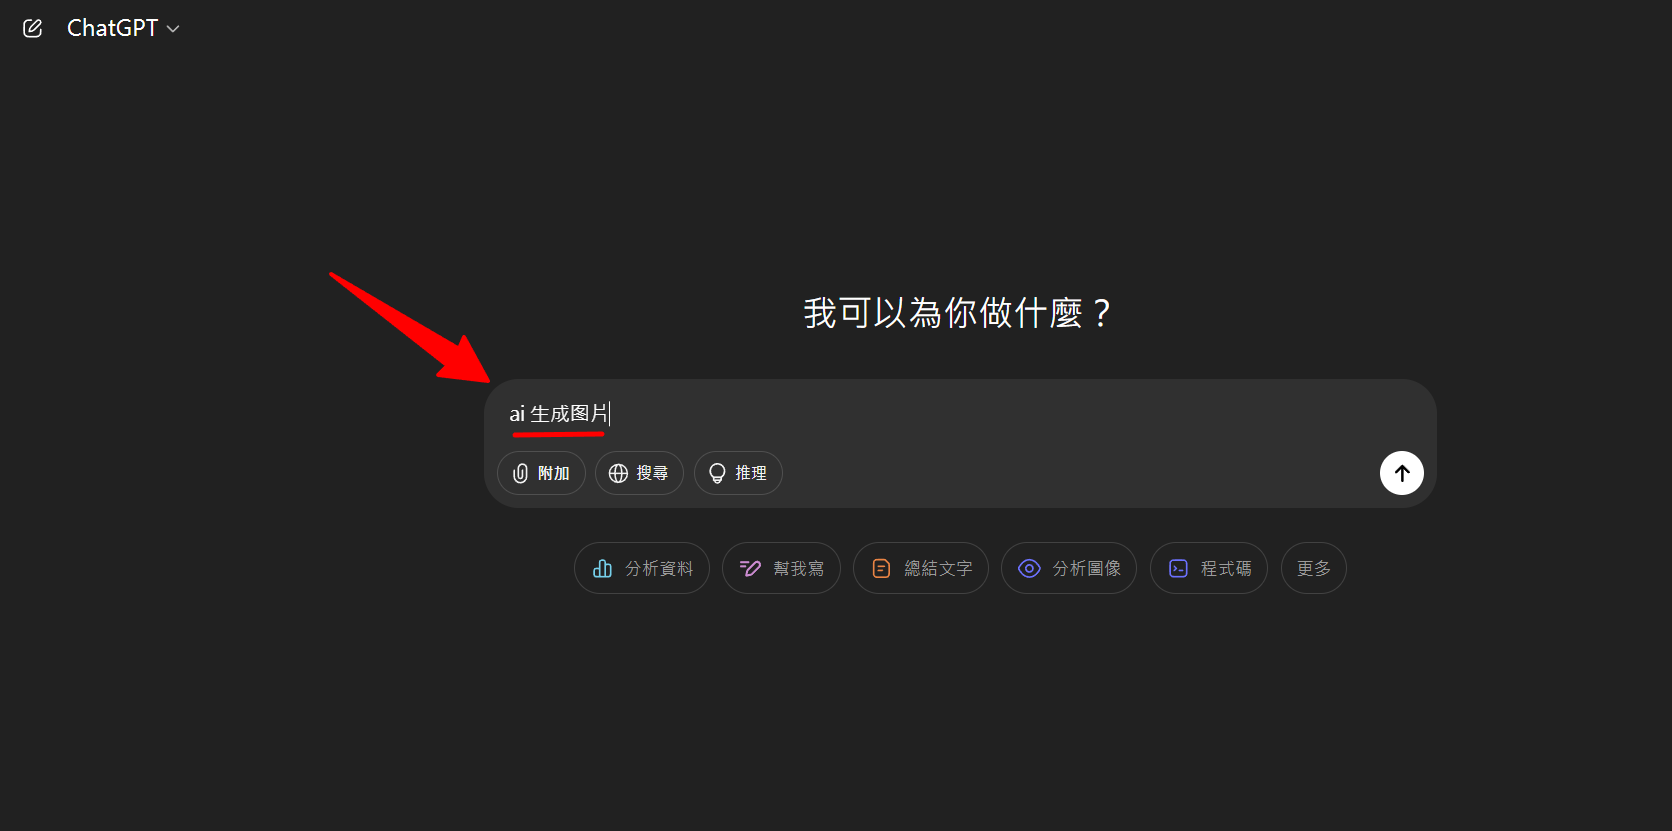
Step 2: Enter keywords
First, fill in the keywords, for example, what you want to write about today. AI generates images This keyword topic:
Step 3: Generate articles using AI
Then copy and paste the following prompts to let AI generate the complete article for you:
Please write a longer article with the title above, providing me with at least 3 pages of text. Do not fabricate content or product/service information; please research online before writing. Do not include a "Summary" heading at the bottom of the article; simply insert a concluding paragraph at the bottom. Article Writing Instructions: - Please use Simplified Chinese. - Use clear and readable H2 and H3 headings. - Emphasize key points in bold. - Integrate the article with lists and tables; distribute tables throughout the article. - Please include the article title before each content.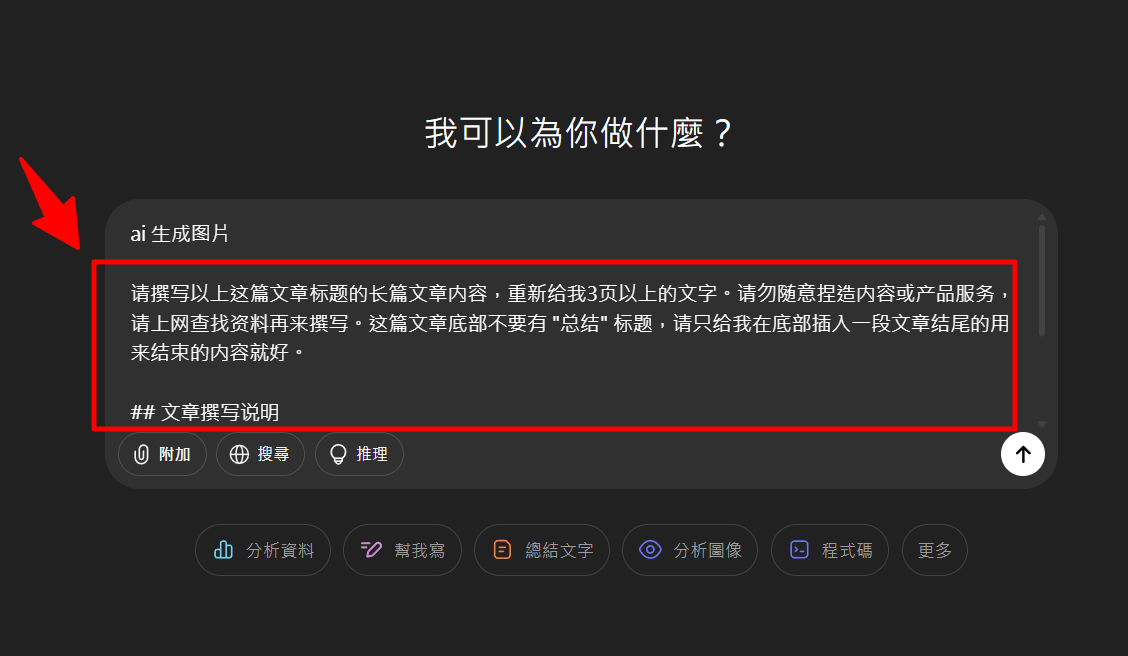
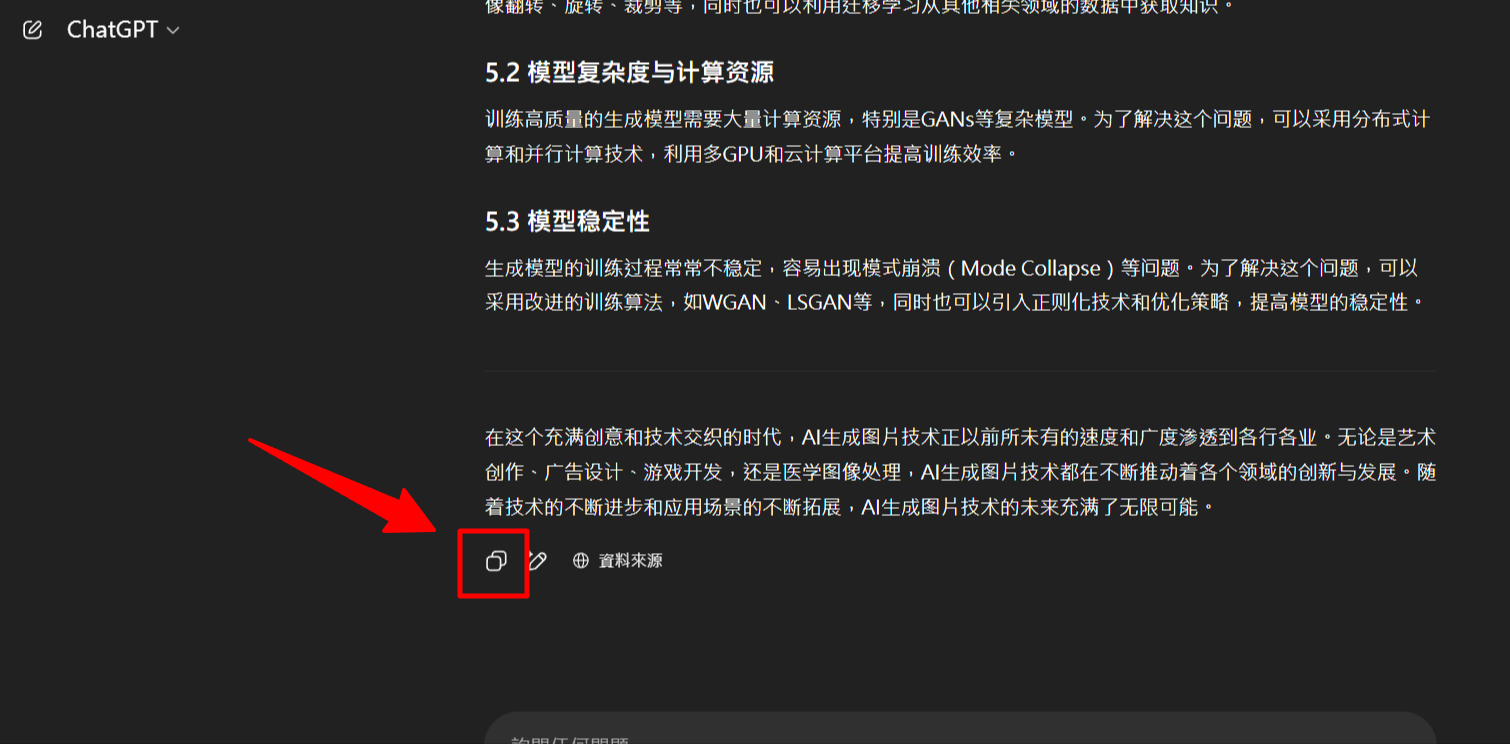
Step 4: Copy the article content
Then scroll down and click "Copy Image" to copy the article with one click:
Step 5: Add a new article and paste the article content.
Then go to the site's backend, add a new article, and paste the article content you just copied:

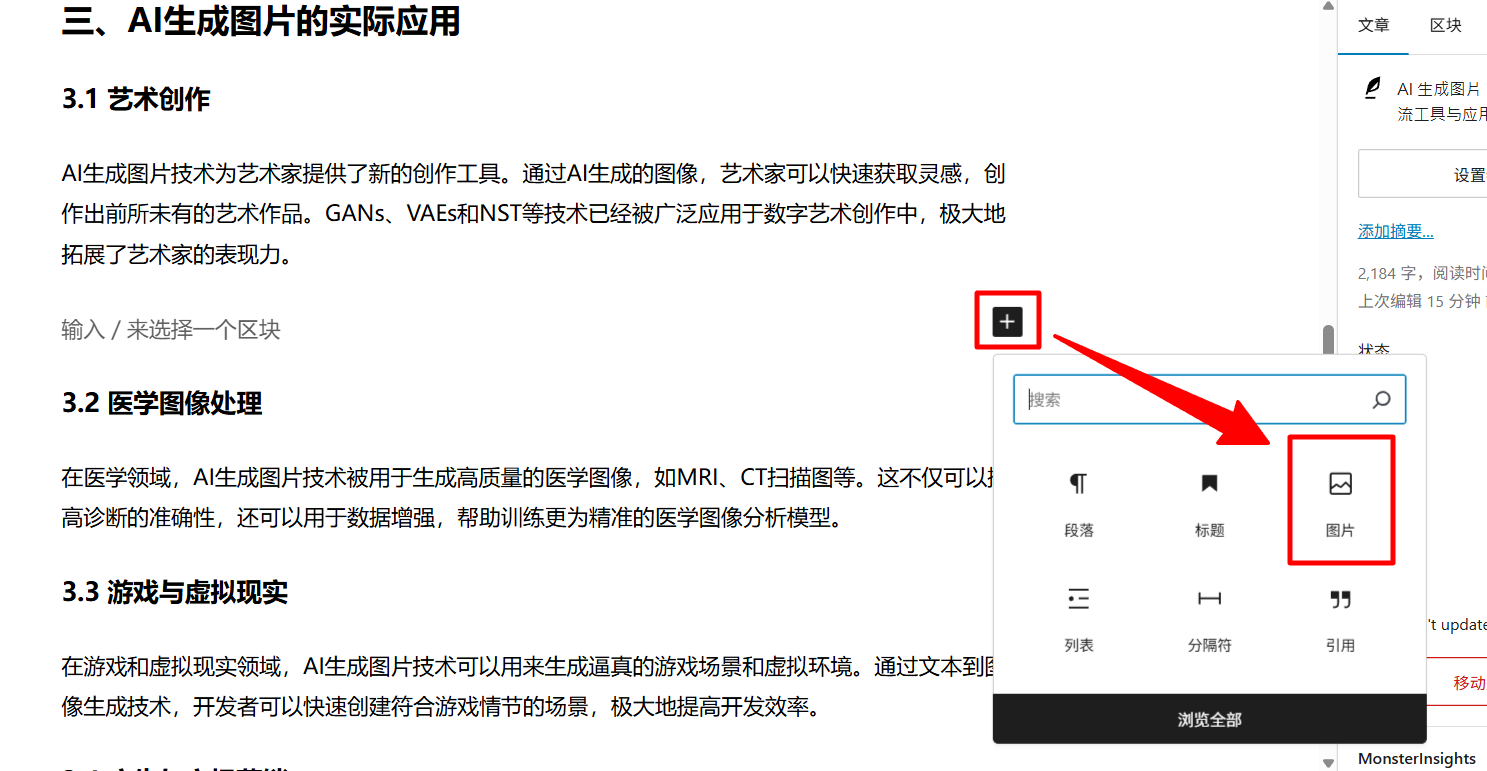
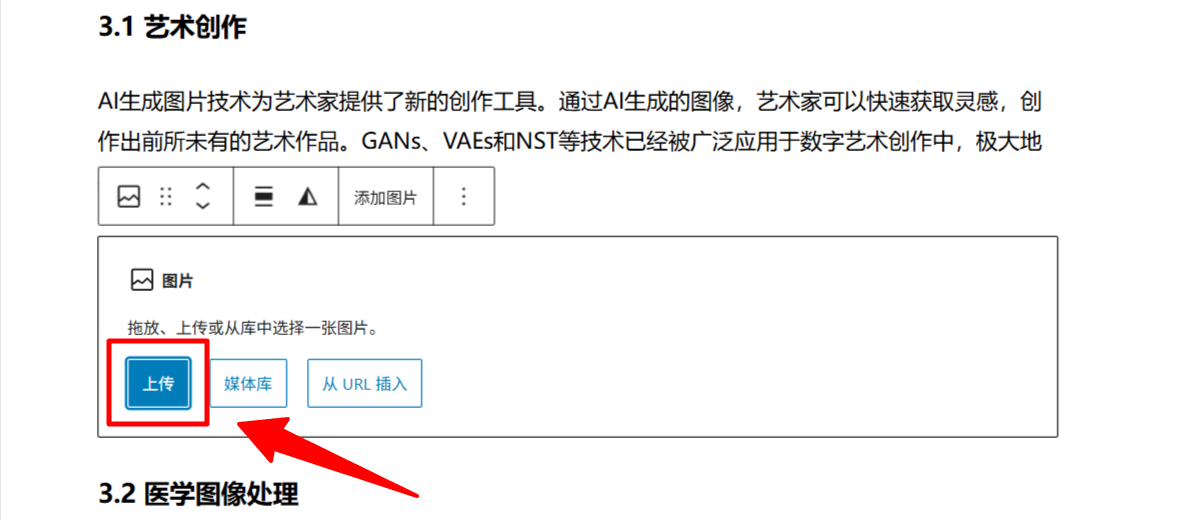
Step Six: Insert Image
The next step is to optimize the article, and in the article... Insert multiple suitable imagesYou can find images in free image libraries. Here are a few image library websites that I frequently use:
- PixabayIt offers millions of free images, vector graphics, and videos, which can be used commercially without attribution.
- PexelsIt boasts a vast collection of high-quality, modernly styled free photos and videos, which can be freely used for commercial purposes.
- UnsplashKnown for its high-resolution and artistic photographs, all images are available for free commercial use.
- FreepikIt offers a vast collection of free vector graphics, icons, and photos, making it an important resource site for designers (the free version requires attribution).
- 💕Image GeneratorYou can also choose to use the image generation card from the AI Fengyue platform to generate images for use.
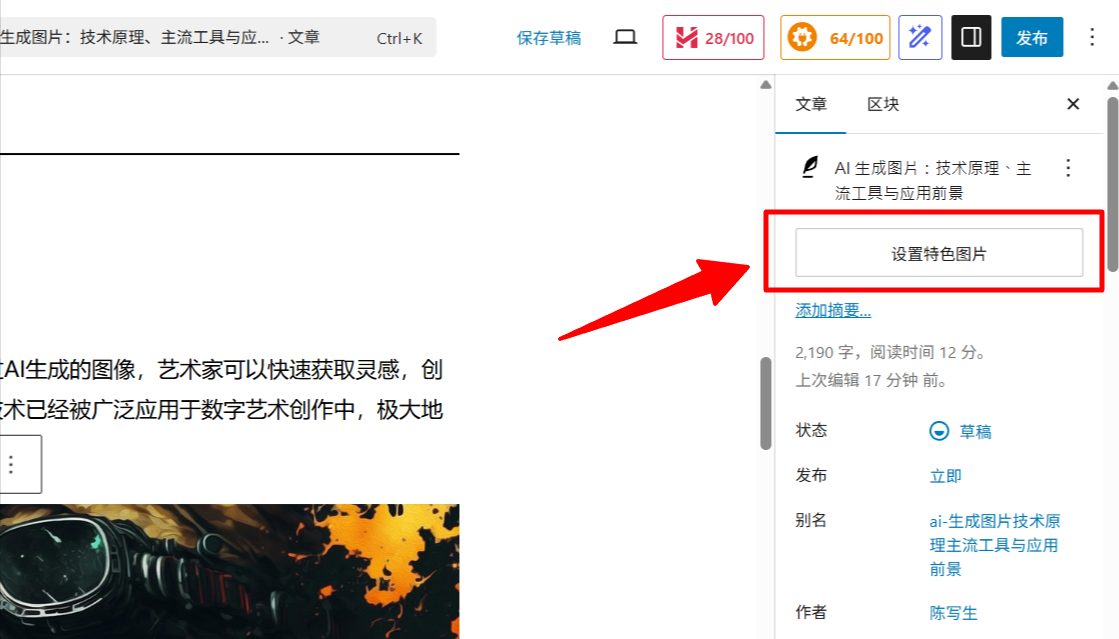
Step 7: Add Featured Images
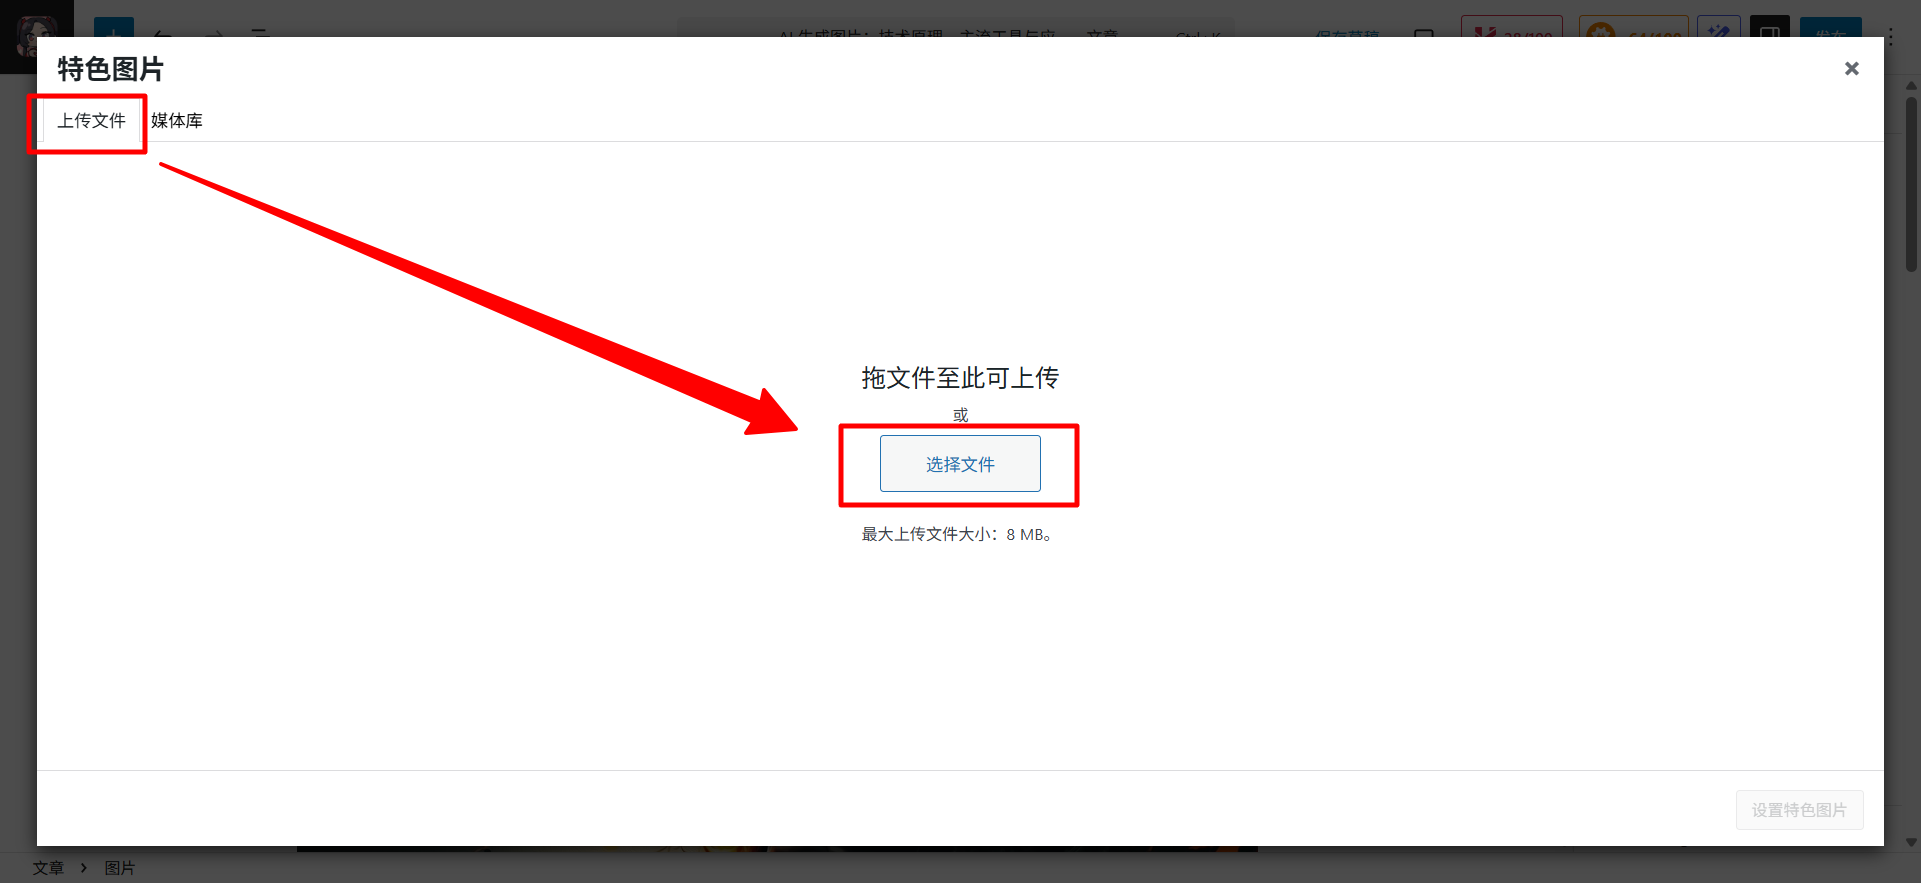
Once the article is complete, remember to add a featured image by clicking the icon in the upper right corner. Set Featured Image Options:
Select in the upper right corner Upload File → Select fileSimply upload your picture, and that's it:
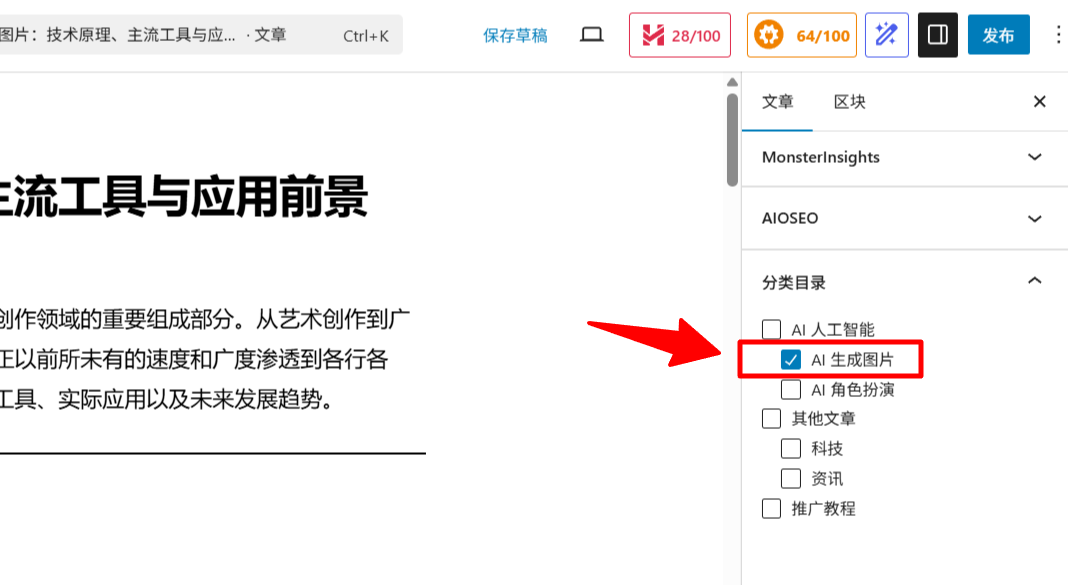
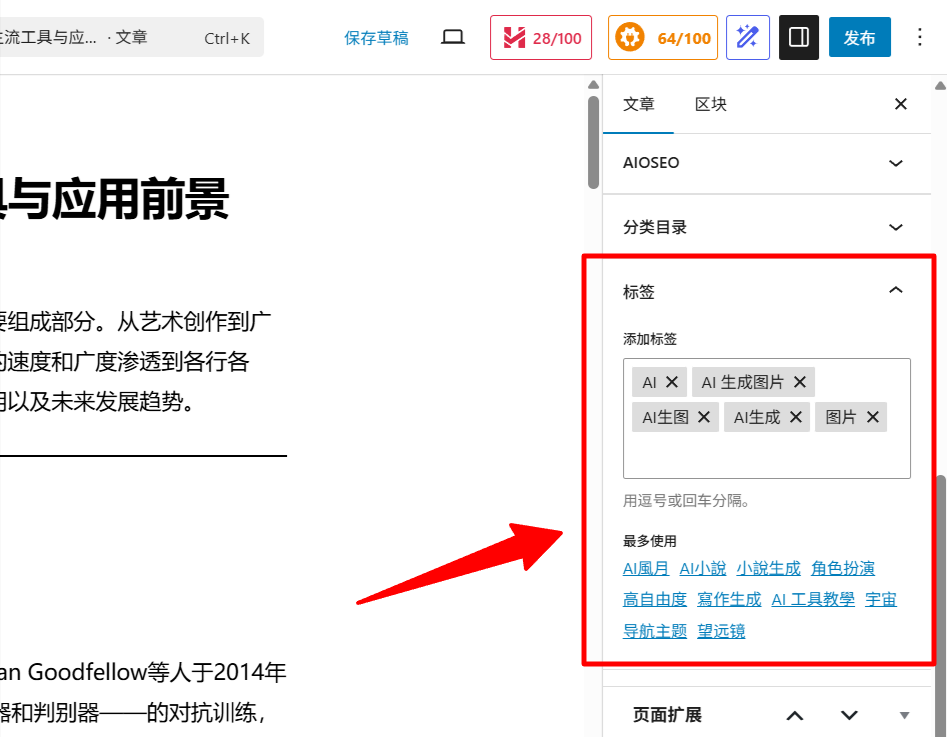
Step 8: Select article category & add article tags
Then add the following to the bottom right corner of this article. Classification 和 Label:
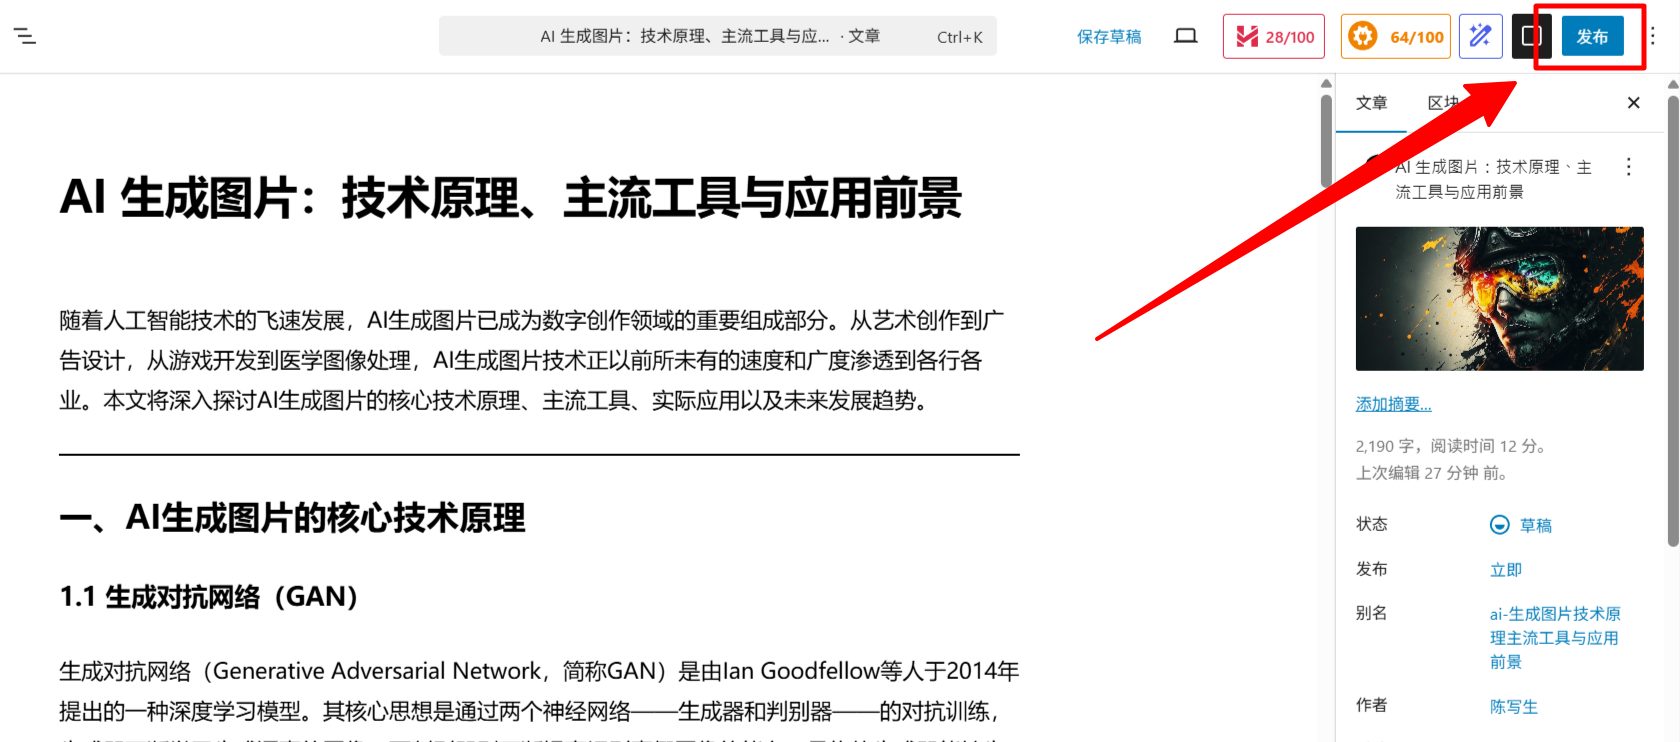
Step Nine: Publish the article
After confirming everything is okay, click the button in the upper right corner. release Press the button to publish your article:
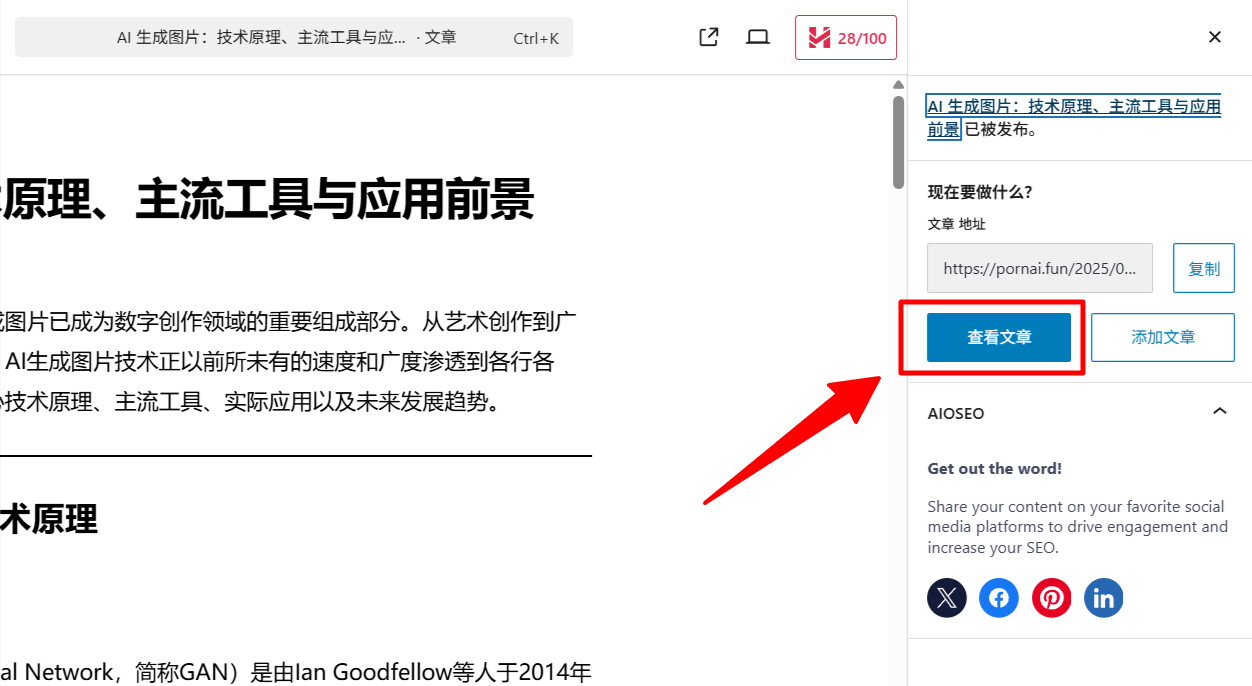
Finish!
Congratulations! Your article has been published. You can click "View Article" in the upper right corner to go to the website's front end and view your article.
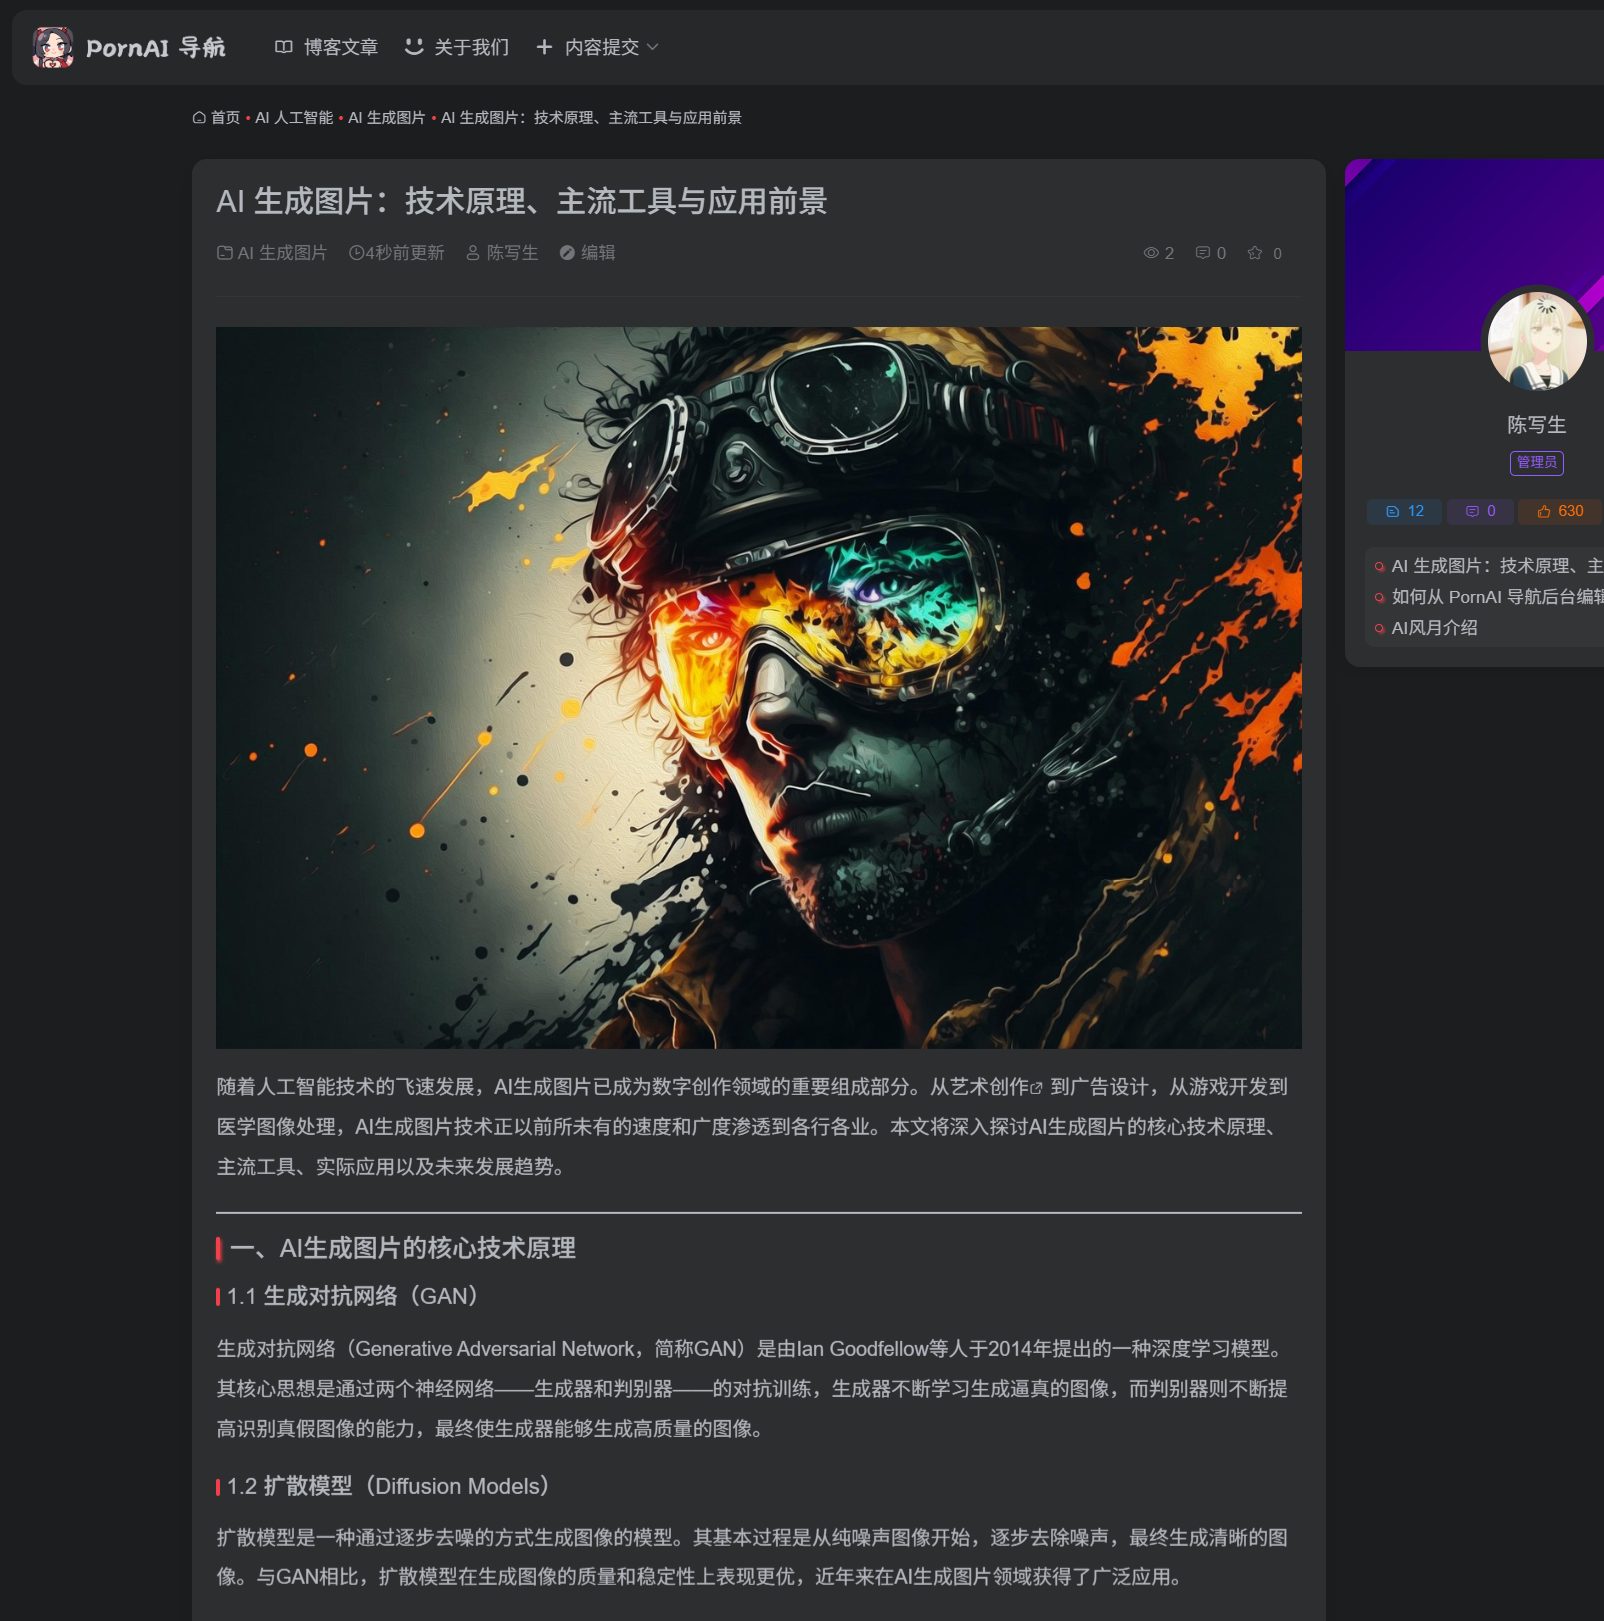
The article has been successfully published and is now displayed on the website's front end:
© Copyright notes
The copyright of the article belongs to the author, please do not reprint without permission.
Related posts


No comments...